WAMP is a virtual web server application that we can use in Windows 10 to test websites locally. WAMP Server stands for Windows, Apache, MySQL, & PHP. It’s a kind of software stack that lets you access multiple software at the same time and in the same place.
Generally, Apache, MySQL, & PHP are built to run on Linux operating systems. While Linux can’t be used for everyday PC usage, Romain Bourdon made WAMP to run these apps on a Windows PC. In a word, it’s a tool that gives you the power to run servers on your local computer instead of online hosting.
Why Should You Choose WAMP Server over Others?
WAMP is the best server setup that you could find in the market. However, there are other versions like MAMP for MACs, LAMP for Linux, and XAMPP, which is a cross-platform software.
Anyway, you could build a super-fast local server using the WAMP application. Its interface is so simple that anyone without web-tech knowledge can easily set up a web application. You can easily access the WAMP server’s Root Directory by clicking the WWW menu. Besides, it has OpenSSL for the SSL support along with the full Apache server controls. You can run WordPress websites with all kinds of features in a WAMP server. So, it’s the perfect tool for developers.
Packed with all these features, people find it hard to install WAMP on Windows 10. Although it’s not a very complicated job to do, there are some steps that you might miss on and fail to install the WAMP server properly.
WAMP is open-source software and contains a large number of control options. You can easily lose track while handling the WAMP application for the first time.
So, to successfully install WAMP on Windows 10, please follow the steps given below. This tutorial will help you completely onboard WAMP without any errors. Even after installation, some things would be blocking WAMP from operating. We will also highlight those obstacles for you.
Enough with the intro. Let’s start!
Important Note
Before you continue with the installation process for WAMP, you need to check whether your PC is capable of running the program. You have to check-
1. Is your Windows 10 running on 32bit or 64bit?
2. Do you have all Microsoft Visual C++ installed?
There are two versions of the WAMP server application, so you can go for both 32bit or 64bit ones. If your computer doesn’t have proper VC++ installed, you can’t run the WAMP server.
For the records, you need VC++9-10, VC++13-14, & VC++15 versions on your Windows 10. You can check it from the Programs & Features tab in your computer’s control panel to see if the required software is available.
Hence, you can download and install the VC++ versions from here:
1. All the latest VC++ downloaders
Please check the image below to ensure that you have the following Redistribution packages installed to run wamp server perfectly. Go to control panel of you Windows 10/11 PC and click Uninstall a program to check the list similar to the image below.
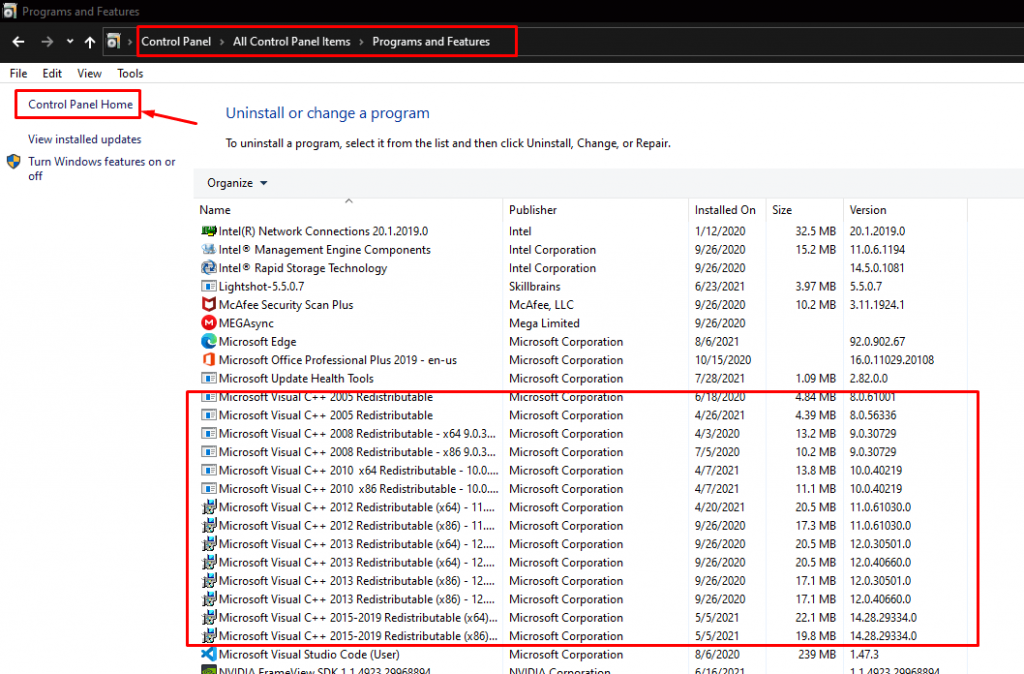
If you do not the these Microsoft Visual C++ Redistributes Installed .Follow this link All the latest VC++ downloaders and install one by one.
How To Install WAMP Server On Windows 10
We are going to show you the whole process step by step. Would you please maintain the order not to get stuck during installation? Therefore, let’s take a quick look at the content.
- Download the WAMP server application
- Run the installer
- Configure WAMP
- Check the Local Host
- Fix errors (if needed)
Now, follow the process step by step.
Step 1. Download the WAMP server application
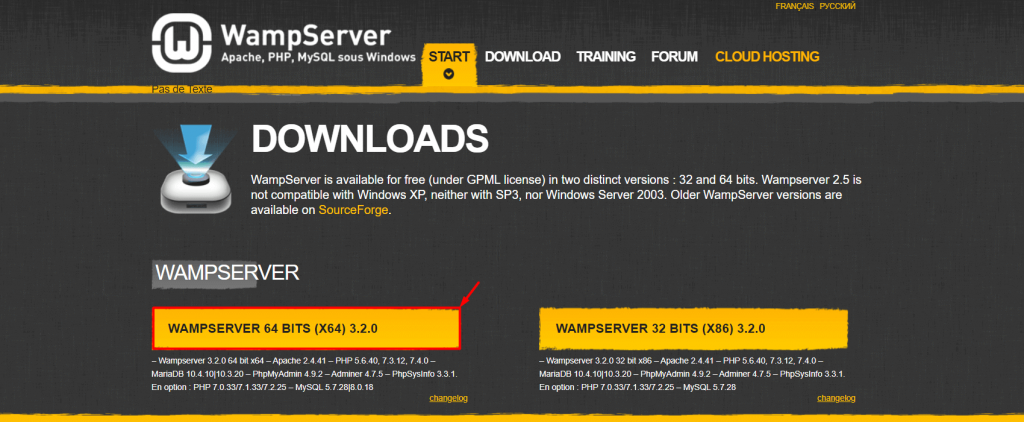
First, Open up your favorite web browser and search for the wampserver.com/en website. You can also click this link that will directly move you to that page.
On the page, scroll down until you see the WAMP server download buttons. We are running Windows 10 in 64bit, and so we choose the 64bit WAMP server version. You can pick the one that goes with the version of your windows.
As soon as you click the download button, you will see a warning prompt and Direct download link on that page. It warns you-
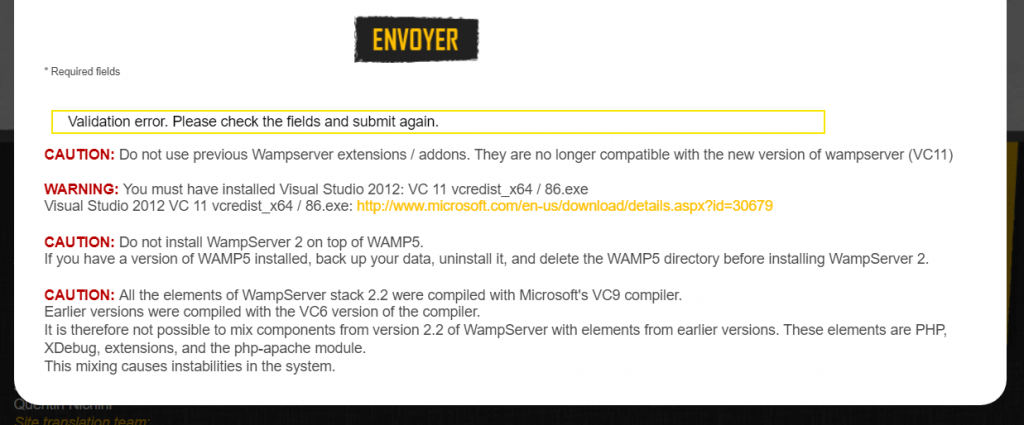
● Don’t use the previous versions of WAMP server extensions or addons, as they are no longer compatible.
● Check if you have installed all the required VC++ versions correctly.
● Don’t overwrite WAMP5 with WAMP server 2. Backup, uninstall, & delete WAMP5 before installing WAMP server 2.
● Don’t try to mix-match two versions of the WAMP server as WAMP 2.2 stack was compiled with Microsoft VC++9 compiler. Older versions were compiled with VC++6 and causes system instability if mixed.
On the popup You will find a direct download link .Once you close the warning popup page, you will be redirected to the WAMP server download page in Sourceforge.
Alternatively, click this link Download WAMP Sever Directly From sourceforge.
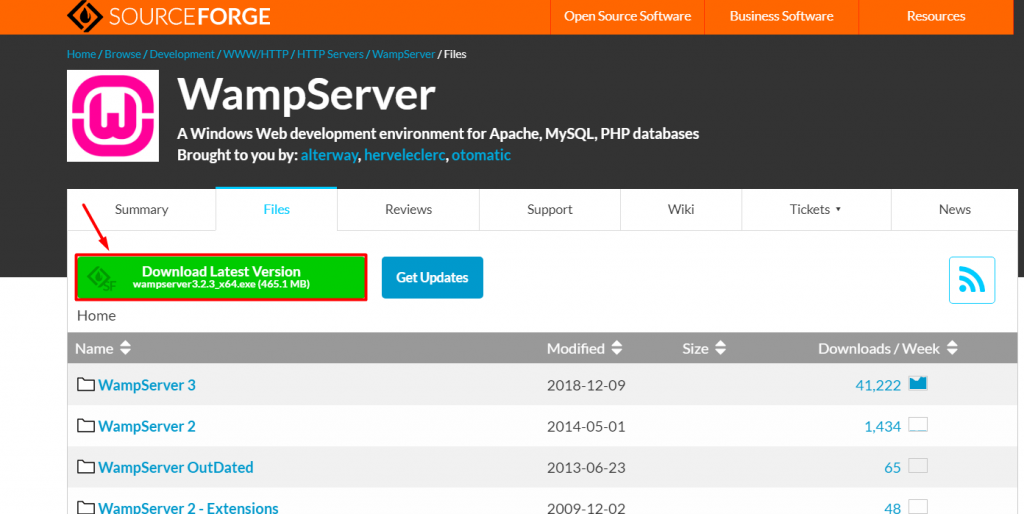
Just click the download button marked in red and get the latest WAMP server installer file for Windows 10.
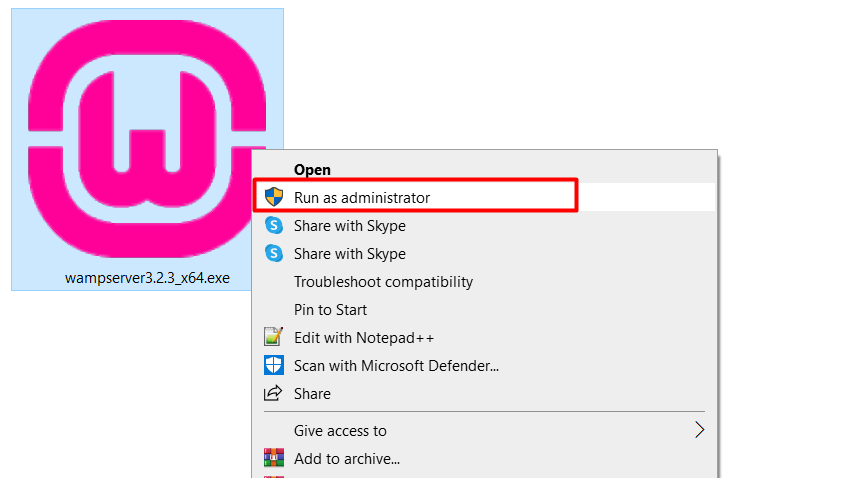
Step 2. Run the installer
Once you have successfully downloaded the wamp server .exe installer file, just right-click on the file and select run as an administrator.
The setup procedure comes in several steps.
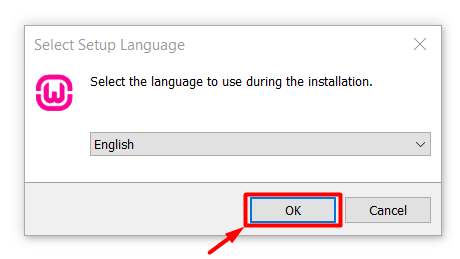
Step 3 . Select language
On the next screen, WAMP will ask you to choose the language first. We are going with English, but you can select yours from the drop-down list.
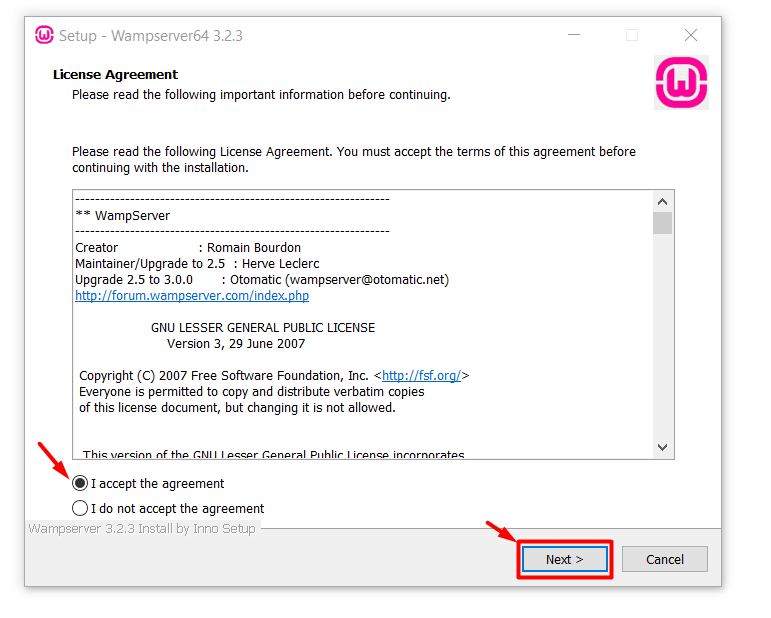
Step-4 Accept the Agreement
The second page asks you to give your consent for installing the WAMP server on Windows 10. Just check the “I accept the agreement” and click the next button.
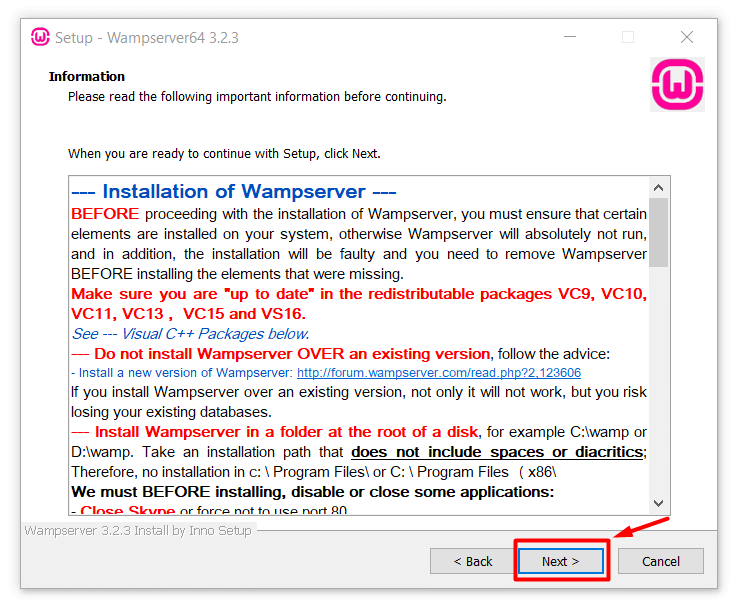
Step-5 installation requirements
After that, the WAMP server installer will inform you about the installation requirements in a short paragraph. It would be best if you kept a note here.Double-check if required VC++ versions are installed
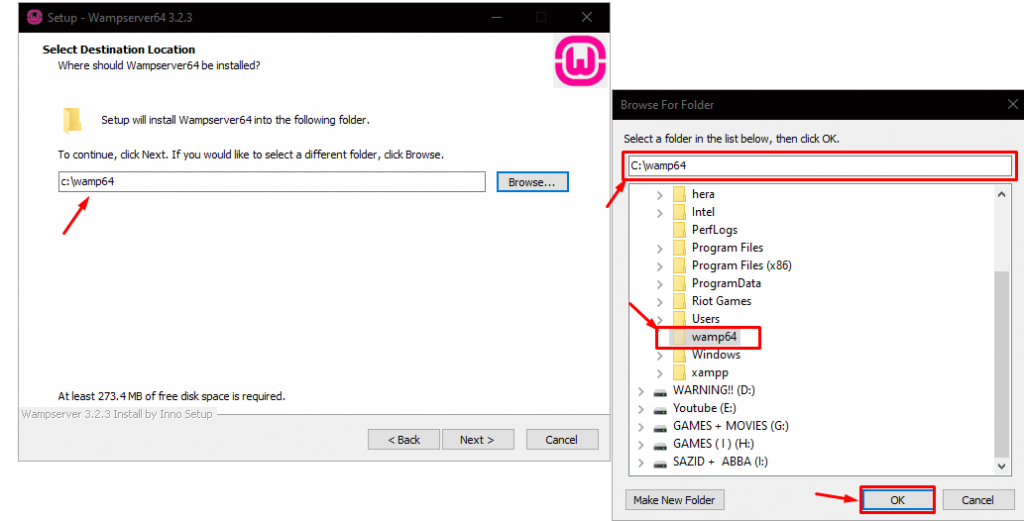
Step 6 – Select the location to install it.
WAMP server installer file will ask you to select the server location space within your hard drive. You can select the file location like the image above.
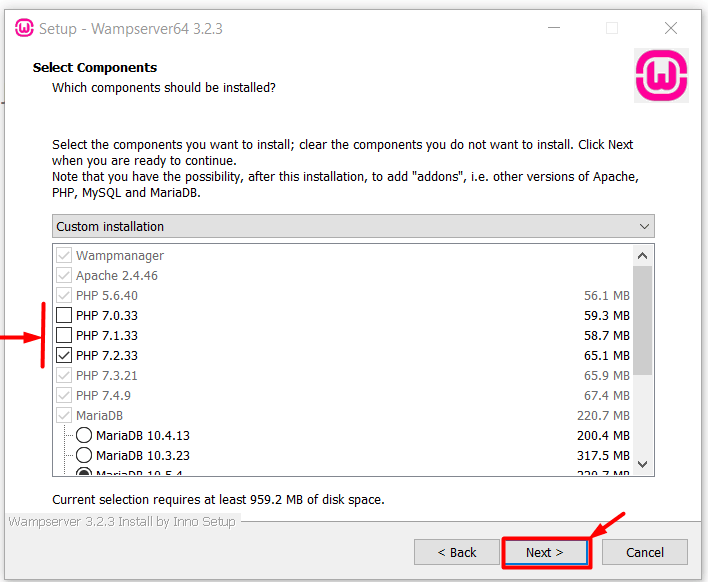
Step-7 Select PHP & MariaDB Version
Select the version of PHP & MariaDB under it. It’s best if you install the latest versions of the software. Just hit Next when you are done here.
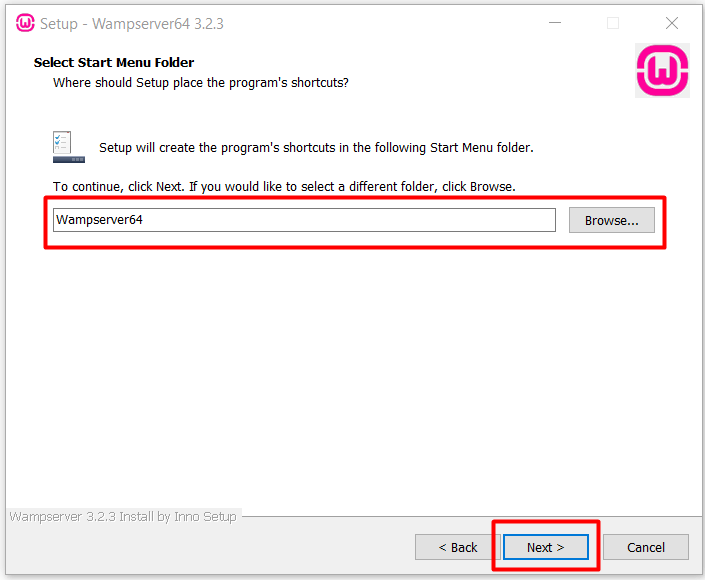
Step – Select Start Menu
Select the default value and Click next to proceed the Installation.
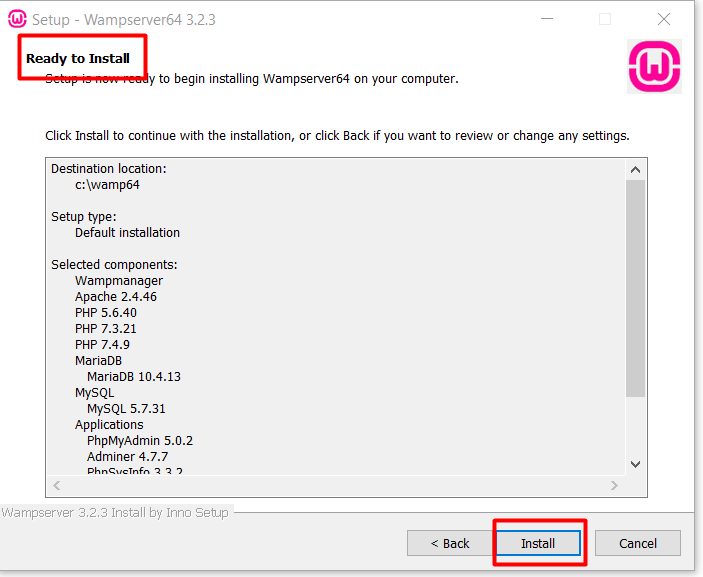
Step Start Installation
Now we are ready to install WAMP Server . Click Install to start the process .
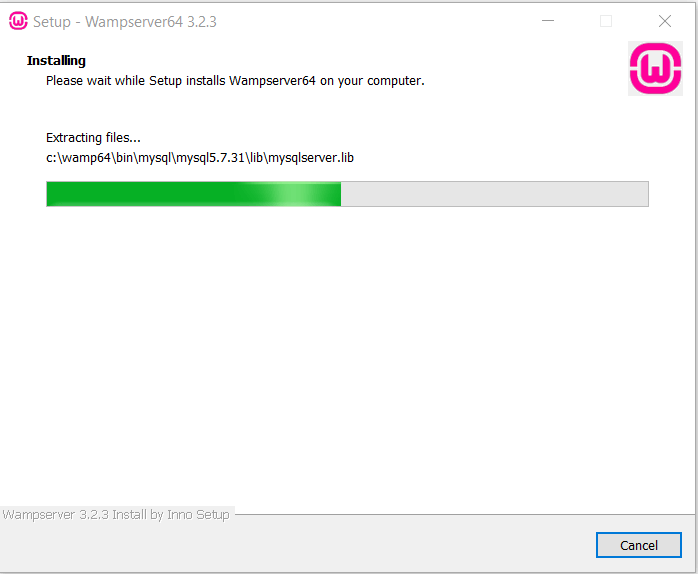
Step Installation progress
After you have clicked install button , You will see a installation progress green bar.
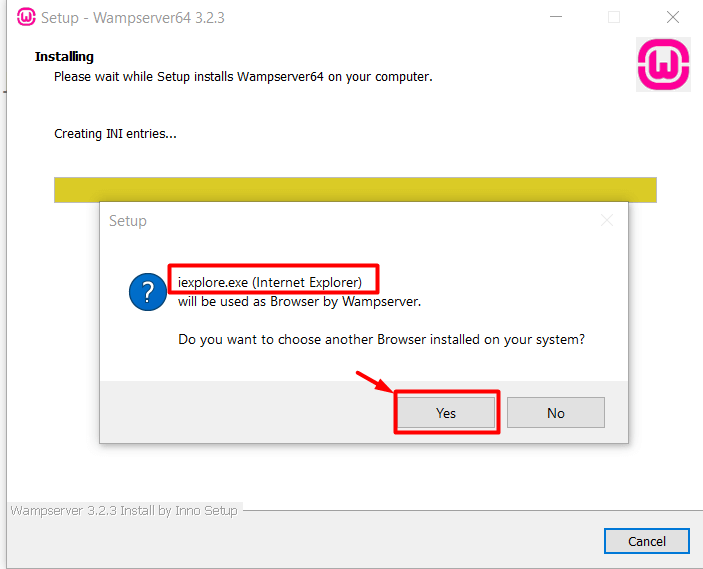
Step-8 Choose your default browser
After that, the WAMP server installer will ask you to choose your default browser for the server access. By default, Internet Explorer is selected. Press the Yes button to change into Chrome or any popular web browser you have installed.
Of course, you have to manually choose the Chrome.exe application from the file explorer followed the process. Once you click the Open button to select your default browser, the installer will move forward.
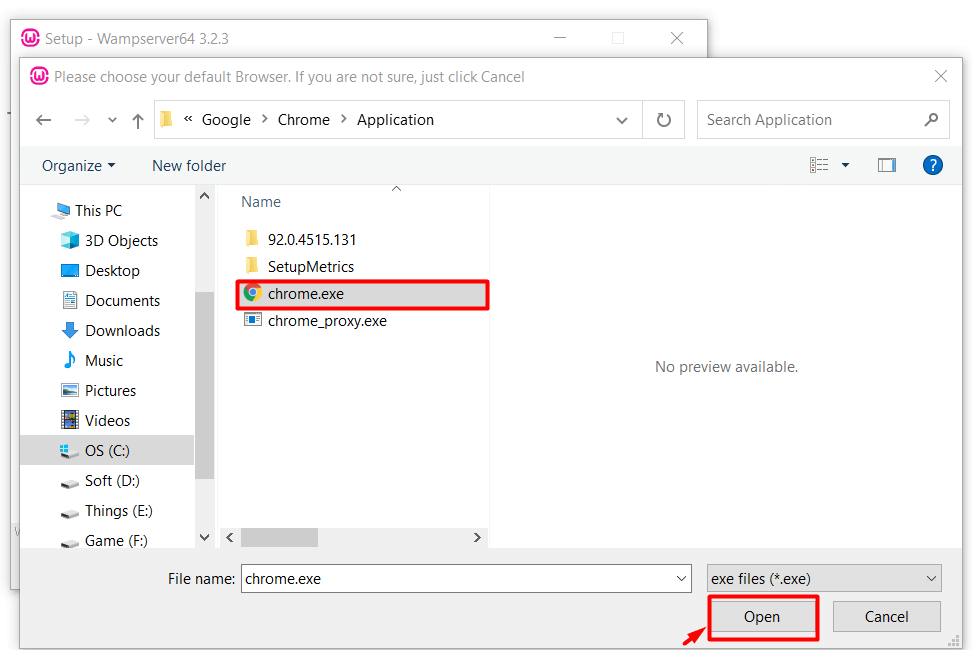
However, if you clicked yes but choose not to change the default browser for the WAMP server in Windows 10, you can just hit the Cancel button.
Step-3 Choose your default text editor
Next, you need to select a text editor for the SQL server to edit PHP files or additional scripts. By default, the Windows 10 Notepad is selected. Same as before, click Yes to change the editor.
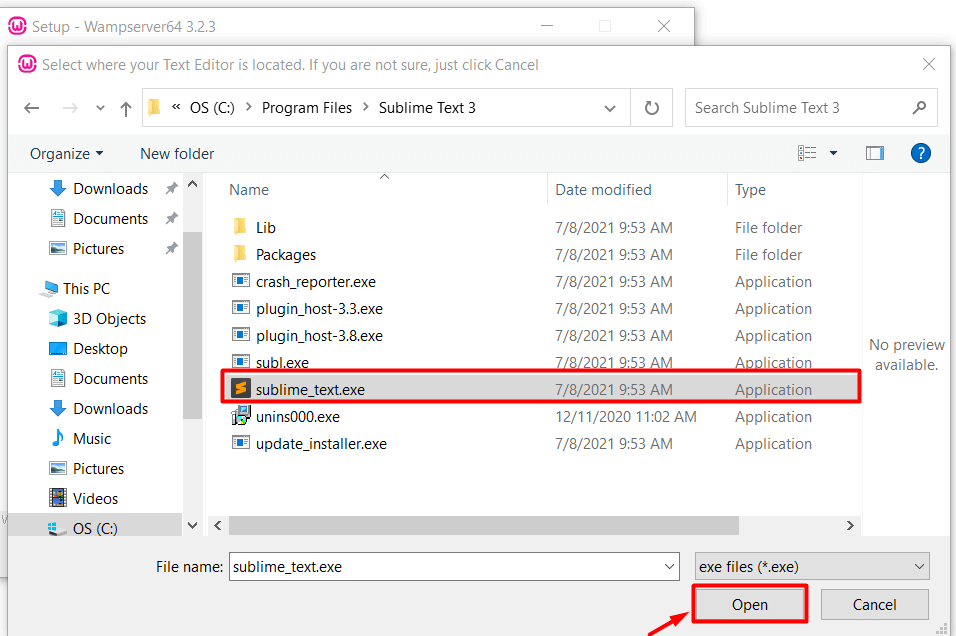
For better control, we moved with the Sublime Text application for Windows 10 SQL WAMP server. Editing PHP, Javascripts are easy with this app. You can download it from this link.
Click open to continue.
Step-4 Read the instructions
In the last step, the WAMP server installer will inform you about the user guide along with the file directory. You can read those files to learn how to use the WAMP server to run PHP programs easily in Windows 10.
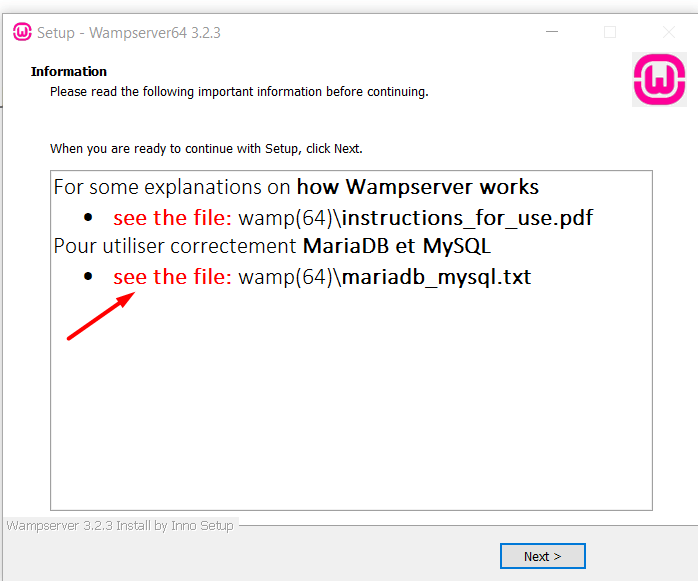
Click next to finish the setup. It will take a while to load, and the popup window will automatically disappear, and the installation is complete.
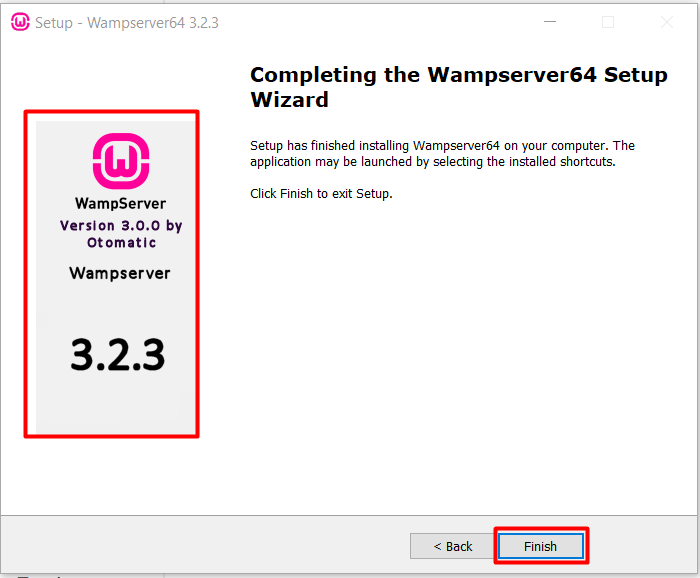
Finish
By now, We are at end of this journey . Hit the finish and take rest. Congrats on your Web development journey.
4. Check the Local Host
Now that you have the WAMP server on your computer, let’s check if it works correctly. Just go ahead and click the WAMP application from the Start menu in Windows 10.
If the WAMP server works successfully, you will see it in a green color icon on your system tray.
Note: If it doesn’t work, the icon will turn red and will stay like that until you have fixed it.
You can check the local server through WAMP right now. To do that-
Click on the green WAMP server icon and hit the Localhost option on the top. Your default browser will automatically open the local host will all configurations listed.
On the page, you can see the server info along with Apache, PHP, MySQL, & MariaDB versions. Right below is the list of loaded extensions for the WAMP server in Windows 10.
Note: Before, people had to download and install the extensions separately sometimes which is now integrated with the application.
Now that all configuration is finished, take your time to learn your ways around the WAMP server application on your Windows 10 computer.
5. Fix Apache Server errors (if needed)
Sometimes WAMP server can fail to load and the icon in the system tray will turn red. This problem most commonly occurs if the ports are blocked or can’t connect to the server. This issue is related to the Apache server module.
But, this problem can be fixed in a minute.
Click on the WAMP server icon from the system tray, hover over the option named Apache, and then click on the httpd.conf file from the new menu.
Now, the server configuration file will be opened with the Sublime text editor app. Just scroll down below until you find the Listen 0.0.0.80 text line. This is the port configuration. Change it according to your port connection.
Lastly, click on the ‘restart all services’ option, and the WAMP server icon will turn green. That means it’s functioning properly now.
Extra Features
The WAMP server also has some more features where you test the port, update PHP/MySQL/Apache?MariaDB, restart DNS, etc. Just right-click on the WAMP server icon and select the Tools option.
You will find all the tools listed inside it.
Conclusion
That’s how you can install & run the WAMP server on Windows 10 configuration easily. It is not a complicated job and you will find it more user-friendly as the WAMP server is such a great application.
Enjoy yourself!